Greenbone Community Containers
Running the Greenbone Community Edition from containers requires knowledge about:
Using a terminal/shell (e.g. bash or sh).
Running services via docker compose.
Additionally, a basic knowledge about the architecture of the Greenbone Community Edition is required to understand the setup and inner workings.
Note
This guide is intended for users who want to test the newest features and/or want to get familiar with the Greenbone Community Edition. It is not intended for production setups.
Currently the docs support the following distributions
Debian stable (bookworm)
Ubuntu 24.04 LTS
Fedora 35 and 36
CentOS 9 Stream
Most likely, other Debian derivatives like Mint and Kali will also work with only minor adjustments required.
Introduction
This document provides a guide for running the Greenbone Community Edition from pre-built container images using Docker. It consists of a distributed service architecture, where each service is run in a dedicated container. The orchestration of these services is done via a docker-compose file.
With the Greenbone Community Containers, it is possible to scan your local network independent of the underlying operating system, installed software and tool chains.
Hardware Requirements
Component |
Minimal |
Recommended |
|---|---|---|
CPU Cores (Compute) |
2 |
4 |
Random-Access Memory (RAM) |
4 GB |
8 GB |
Available Storage |
20 GB |
60 GB |
Prerequisites
Note
Please follow the guide step by step. Later steps might require settings or output of a previous command.
The sudo-command is used for executing commands and binaries that require privileged access on the system.
Dependencies
There are a few dependencies required for the following steps like curl
and docker,
of which the former is required to downloading files from this guide.
curl can be separately downloaded through the instructions below,
but it will also be installed when following the Docker engine installation docs.
Installing Docker
Docker (alternatively podman)
is the application with which the Greenbone stack will be deployed.
Docker can be installed by following the instructions provided directly by them.
Please refer to the: Official Docker Engine Installation Guide:
Setting up Docker
To allow the current user to run docker-commands and therefore start the containers, they must be added to the docker user group (or be run as root). To make the group change effective, either logout and login again or use the su-command.
sudo usermod -aG docker $USER && su $USER
For downloading the Greenbone Community Edition docker compose file, a destination directory should be created.
export DOWNLOAD_DIR=$HOME/greenbone-community-edition && mkdir -p $DOWNLOAD_DIR
Docker Compose File
Important
Please always ensure to use the latest version of the compose.yaml file
when following this guide. The file might get updates and important changes
since your last download.
To run the Greenbone Community Edition with containers, the following compose file should be used:
name: greenbone-community-edition

services:
  vulnerability-tests:
    image: registry.community.greenbone.net/community/vulnerability-tests
    environment:
      FEED_RELEASE: "24.10"
      KEEP_ALIVE: 1
    volumes:
      - vt_data_vol:/mnt

  notus-data:
    image: registry.community.greenbone.net/community/notus-data
    environment:
      KEEP_ALIVE: 1
    volumes:
      - notus_data_vol:/mnt

  scap-data:
    image: registry.community.greenbone.net/community/scap-data
    environment:
      KEEP_ALIVE: 1
    volumes:
      - scap_data_vol:/mnt

  cert-bund-data:
    image: registry.community.greenbone.net/community/cert-bund-data
    environment:
      KEEP_ALIVE: 1
    volumes:
      - cert_data_vol:/mnt

  dfn-cert-data:
    image: registry.community.greenbone.net/community/dfn-cert-data
    environment:
      KEEP_ALIVE: 1
    volumes:
      - cert_data_vol:/mnt
    depends_on:
      cert-bund-data:
        condition: service_healthy

  data-objects:
    image: registry.community.greenbone.net/community/data-objects
    environment:
      FEED_RELEASE: "24.10"
      KEEP_ALIVE: 1
    volumes:
      - data_objects_vol:/mnt

  report-formats:
    image: registry.community.greenbone.net/community/report-formats
    environment:
      FEED_RELEASE: "24.10"
      KEEP_ALIVE: 1
    volumes:
      - data_objects_vol:/mnt
    depends_on:
      data-objects:
        condition: service_healthy

  gpg-data:
    image: registry.community.greenbone.net/community/gpg-data
    volumes:
      - gpg_data_vol:/mnt

  redis-server:
    image: registry.community.greenbone.net/community/redis-server
    deploy:
      restart_policy:
        condition: any
    volumes:
      - redis_socket_vol:/run/redis/

  pg-gvm:
    image: registry.community.greenbone.net/community/pg-gvm:stable
    deploy:
      restart_policy:
        condition: any
    volumes:
      - psql_data_vol:/var/lib/postgresql
      - psql_socket_vol:/var/run/postgresql
    depends_on:
      pg-gvm-migrator:
        condition: service_completed_successfully

  pg-gvm-migrator:
    image: registry.community.greenbone.net/community/pg-gvm-migrator:stable
    deploy:
      restart_policy:
        condition: none
    volumes:
      - psql_data_vol:/var/lib/postgresql
      - psql_socket_vol:/var/run/postgresql

  gvmd:
    image: registry.community.greenbone.net/community/gvmd:stable
    deploy:
      restart_policy:
        condition: any
    volumes:
      - gvmd_data_vol:/var/lib/gvm
      - scap_data_vol:/var/lib/gvm/scap-data/
      - cert_data_vol:/var/lib/gvm/cert-data
      - data_objects_vol:/var/lib/gvm/data-objects/gvmd
      - vt_data_vol:/var/lib/openvas/plugins
      - psql_data_vol:/var/lib/postgresql
      - gvmd_socket_vol:/run/gvmd
      - ospd_openvas_socket_vol:/run/ospd
      - psql_socket_vol:/var/run/postgresql
    depends_on:
      pg-gvm:
        condition: service_started
      scap-data:
        condition: service_healthy
      cert-bund-data:
        condition: service_healthy
      dfn-cert-data:
        condition: service_healthy
      data-objects:
        condition: service_healthy
      report-formats:
        condition: service_healthy

  gsa:
    image: registry.community.greenbone.net/community/gsa:stable-slim
    environment:
      MOUNT_PATH: "/mnt/web"
      KEEP_ALIVE: 1
    healthcheck:
      test: [ "CMD-SHELL", "test -e /run/gsa/copying.done" ]
      start_period: 5s
    volumes:
      - gsa_data_vol:/mnt/web

  gsad:
    image: registry.community.greenbone.net/community/gsad:stable
    deploy:
      restart_policy:
        condition: any
    environment:
      GSAD_HTTP_ONLY: "true"
      GSAD_API_ONLY: "true"
      GSAD_FOREGROUND: "true"
    volumes:
      - gvmd_socket_vol:/run/gvmd
    depends_on:
      gvmd:
        condition: service_started

  gvm-config:
    image: registry.community.greenbone.net/community/gvm-config:latest
    environment:
      ENABLE_NGINX_CONFIG: true
      ENABLE_TLS_GENERATION: true
    volumes:
      - nginx_config_vol:/mnt/nginx/configs
      - nginx_certificates_vol:/mnt/nginx/certs

  nginx:
    image: registry.community.greenbone.net/community/nginx:latest
    ports:
      - 127.0.0.1:443:443
      - 127.0.0.1:9392:9392
    volumes:
      - nginx_config_vol:/etc/nginx/conf.d:ro
      - nginx_certificates_vol:/etc/nginx/certs:ro
      - gsa_data_vol:/usr/share/nginx/html:ro
    deploy:
      restart_policy:
        condition: any
    depends_on:
      gvm-config:
        condition: service_completed_successfully
      gsa:
        condition: service_healthy
      gsad:
        condition: service_started

  # Sets log level of openvas to the set LOG_LEVEL within the env
  # and changes log output to /var/log/openvas instead /var/log/gvm
  # to reduce likelihood of unwanted log interferences
  configure-openvas:
    image: registry.community.greenbone.net/community/openvas-scanner:stable
    volumes:
      - openvas_data_vol:/mnt
      - openvas_log_data_vol:/var/log/openvas
    command:
      - /bin/sh
      - -c
      - |
        printf "table_driven_lsc = yes\nopenvasd_server = http://openvasd:80\n" > /mnt/openvas.conf
        sed "s/127/128/" /etc/openvas/openvas_log.conf | sed 's/gvm/openvas/' > /mnt/openvas_log.conf
        chmod 644 /mnt/openvas.conf
        chmod 644 /mnt/openvas_log.conf
        touch /var/log/openvas/openvas.log
        chmod 666 /var/log/openvas/openvas.log

  # shows logs of openvas
  openvas:
    image: registry.community.greenbone.net/community/openvas-scanner:stable
    volumes:
      - openvas_data_vol:/etc/openvas
      - openvas_log_data_vol:/var/log/openvas
    command:
      - /bin/sh
      - -c
      - |
        cat /etc/openvas/openvas.conf
        tail -f /var/log/openvas/openvas.log
    depends_on:
      configure-openvas:
        condition: service_completed_successfully

  openvasd:
    image: registry.community.greenbone.net/community/openvas-scanner:stable
    deploy:
      restart_policy:
        condition: any
    environment:
      # `service_notus` is set to disable everything but notus,
      # if you want to utilize openvasd directly, remove `OPENVASD_MODE`
      OPENVASD_MODE: service_notus
      GNUPGHOME: /etc/openvas/gnupg
      LISTENING: 0.0.0.0:80
    volumes:
      - openvas_data_vol:/etc/openvas
      - openvas_log_data_vol:/var/log/openvas
      - gpg_data_vol:/etc/openvas/gnupg
      - notus_data_vol:/var/lib/notus
    # enable port forwarding when you want to use the http api from your host machine
    # ports:
    #   - 127.0.0.1:3000:80
    depends_on:
      vulnerability-tests:
        condition: service_healthy
      notus-data:
        condition: service_healthy
      configure-openvas:
        condition: service_completed_successfully
      gpg-data:
        condition: service_completed_successfully
    networks:
      default:
        aliases:
          - openvasd

  ospd-openvas:
    image: registry.community.greenbone.net/community/ospd-openvas:stable
    deploy:
      restart_policy:
        condition: any
    hostname: ospd-openvas.local
    cap_add:
      - NET_ADMIN # for capturing packages in promiscuous mode
      - NET_RAW # for raw sockets e.g. used for the boreas alive detection
    security_opt:
      - seccomp=unconfined
      - apparmor=unconfined
    command:
      [
        "ospd-openvas",
        "-f",
        "--config",
        "/etc/gvm/ospd-openvas.conf",
        "--notus-feed-dir",
        "/var/lib/notus/advisories",
        "-m",
        "666",
      ]
    volumes:
      - gpg_data_vol:/etc/openvas/gnupg
      - vt_data_vol:/var/lib/openvas/plugins
      - notus_data_vol:/var/lib/notus
      - ospd_openvas_socket_vol:/run/ospd
      - redis_socket_vol:/run/redis/
      - openvas_data_vol:/etc/openvas/
      - openvas_log_data_vol:/var/log/openvas
    depends_on:
      redis-server:
        condition: service_started
      gpg-data:
        condition: service_completed_successfully
      configure-openvas:
        condition: service_completed_successfully
      vulnerability-tests:
        condition: service_healthy
      notus-data:
        condition: service_healthy

  gvm-tools:
    image: registry.community.greenbone.net/community/gvm-tools
    volumes:
      - gvmd_socket_vol:/run/gvmd
      - ospd_openvas_socket_vol:/run/ospd
    depends_on:
      - gvmd
      - ospd-openvas

volumes:
  gpg_data_vol:
  scap_data_vol:
  cert_data_vol:
  data_objects_vol:
  gvmd_data_vol:
  psql_data_vol:
  vt_data_vol:
  notus_data_vol:
  psql_socket_vol:
  gvmd_socket_vol:
  ospd_openvas_socket_vol:
  redis_socket_vol:
  openvas_data_vol:
  openvas_log_data_vol:
  gsa_data_vol:
  nginx_config_vol:
  nginx_certificates_vol:
Download
It is possible to just copy and paste the docker compose file. Alternatively, it can be downloaded with the following command directly:
curl -f -O -L https://greenbone.github.io/docs/latest/_static/compose.yaml --output-dir "$DOWNLOAD_DIR"
Description
The following table describes the provided containers of the docker compose file and their services in detail.
Container |
Service |
Description |
|---|---|---|
redis-server |
A redis server with an adjusted config. Used to store VT data and scan results by the scanner. |
|
pg-gvm |
A PostgreSQL database cluster setup for use with gvmd. The actual data is stored in the |
|
pg-gvm-migrator |
A container for migrating the database from one PostgreSQL major version to another |
|
gvmd |
gvmd |
A container for gvmd that uses unix sockets in volumes to communicate with the PostgreSQL database and ospd-openvas scanner. The downloaded feed data is stored in the |
gsad |
gsad |
A container running the gsad service for providing the web API. It translates between http and GMP. For communication with gvmd, a unix socket in a volume is used. |
gsa |
A container that copies the static content for the web application GSA to the |
|
gvm-config |
A container providing the nginx config and self-signed certificates for https communication. |
|
nginx |
nginx |
A nginx web server providing GSA. It forwards API requests to the gsad service. |
ospd-openvas |
ospd-openvas |
A container providing the vulnerability scanner. The VT data from the feed is stored in the |
gvm-tools |
A container providing the gvm-tools CLI to query and control gvmd and ospd-openvas. |
|
gpg-data |
A container that copies a GPG keyring with Greenbone’s public signing keys into the |
|
vulnerability-tests |
A container that copies vulnerability tests (VTs) into the |
|
notus-data |
A container that copies vulnerability information for notus-scanner into the |
|
scap-data |
A container that copies CVE and CPE data into the |
|
cert-bund-data |
A container that copies CERT-Bund data into the |
|
dfn-cert-data |
A container that copies DFN-CERT data into the |
|
data-objects |
A container that copies scan configs, compliance policies and port lists into the |
|
report-formats |
A container that copies report formats into the |
|
configure-openvas |
A container for setting up the configuration for OpenVAS Scanner |
|
openvas |
A container that shows the logs of OpenVAS Scanner |
|
openvasd |
openvasd |
A container for openvasd. It is providing notus, a static vulnerability engine, functionality. |
Starting the Greenbone Community Containers
Using the docker compose file, the container images can be downloaded (pulled) and the containers can be started in the background.
docker compose -f $DOWNLOAD_DIR/compose.yaml pull
docker compose -f $DOWNLOAD_DIR/compose.yaml up -d
To get a continuous stream of the log output of all services, run the following command:
docker compose -f $DOWNLOAD_DIR/compose.yaml logs -f
The log stream can be stopped by pressing Ctrl-C.
Setting up an Admin User
Warning
By default, a user admin with the password admin is created. This is insecure and it is highly recommended to set a new password.
To update the administrator user with a password of your choice instead of the generated password, the following command can be used:
docker compose -f $DOWNLOAD_DIR/compose.yaml \
    exec -u gvmd gvmd gvmd --user=admin --new-password='<password>'
Note
Please be aware if your password includes special characters like $ it needs
to be quoted in single quotes.
Starting the Vulnerability Management
After the services have started and all feed data has been loaded, the Greenbone Security Assistant web interface – GSA – can be opened in the browser.
xdg-open "https://127.0.0.1" 2>/dev/null >/dev/null &
The browser will show the login page of GSA and after using the credentials created before, it is possible to start with vulnerability scanning.
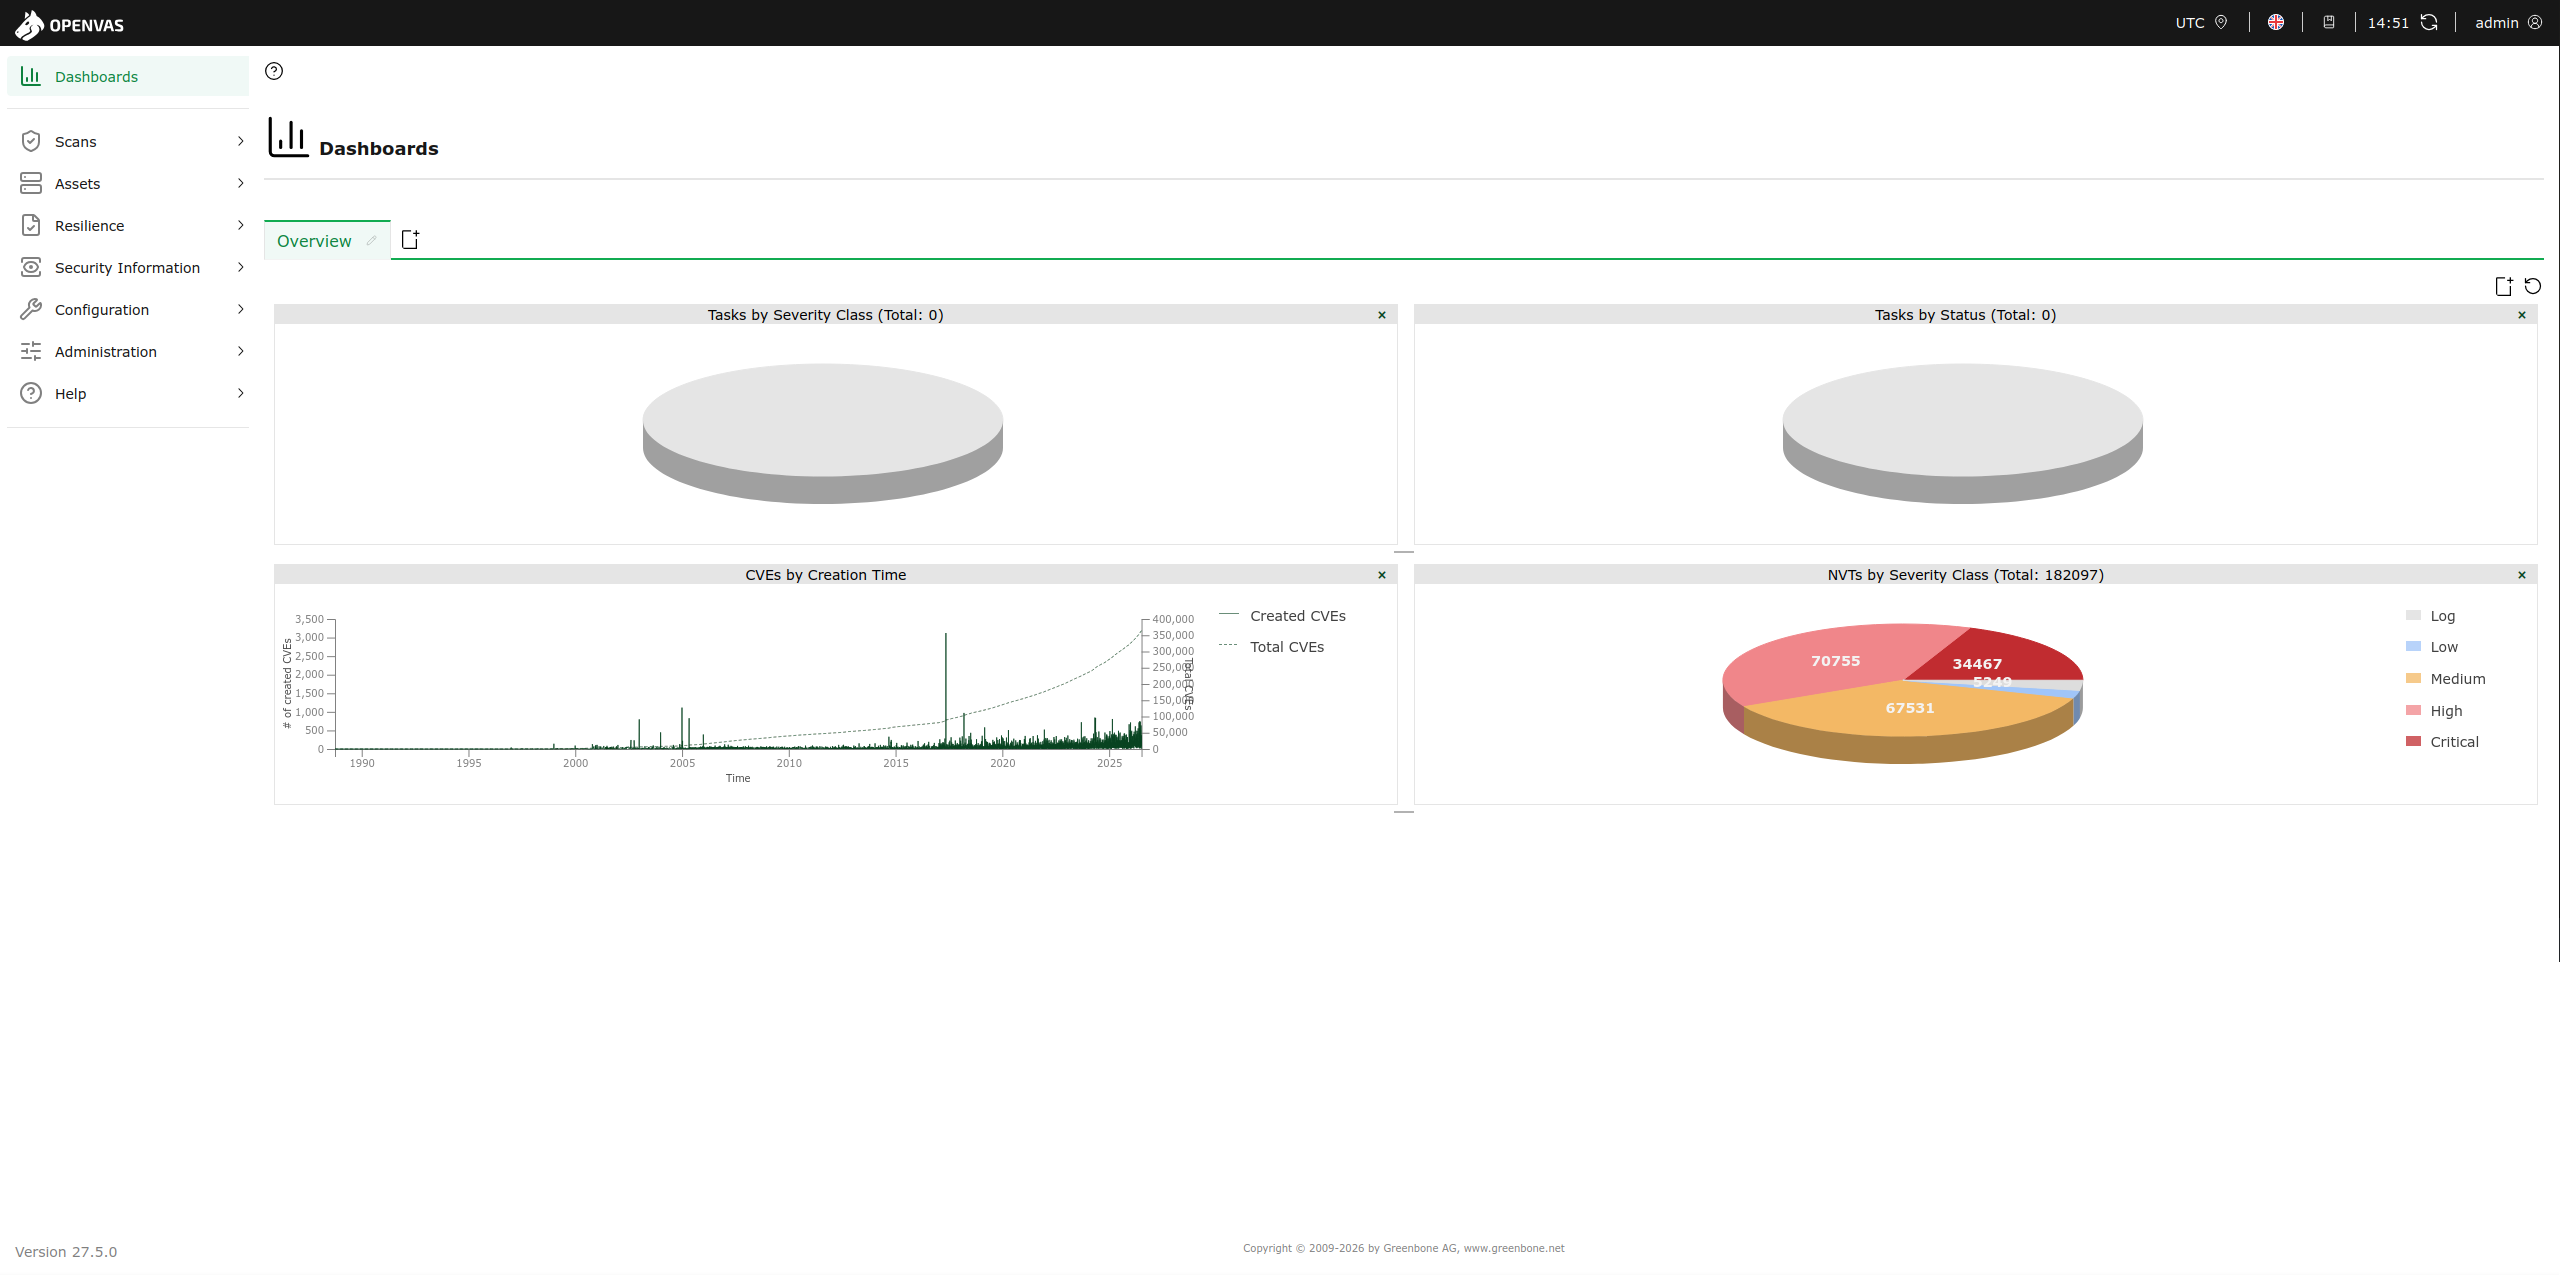
Greenbone Security Assistant after logging in for the first time
Setup and Start Script
Note
Please remember to follow the instructions described in the Prerequisites first.
As a quick solution we provide all the commands above in a single script. This script can be downloaded with the following command directly:
curl -f -O https://greenbone.github.io/docs/latest/_static/setup-and-start-greenbone-community-edition.sh && chmod u+x setup-and-start-greenbone-community-edition.sh
To execute the script following command needs to be run
./setup-and-start-greenbone-community-edition.sh